How to Add a Free Chatbot to Your Website Using Tawk.to
In today’s digital world, businesses must engage with their website visitors in real-time to improve user experience and boost conversions. One of the easiest and most effective ways to do this is by integrating a chatbot. If you’re looking for a free and reliable solution, Tawk.to is an excellent choice!
we’ll guide you step by step on how to add a free chatbot to your website using Tawk.to, even if you have zero coding experience.
Why Choose Tawk.to?
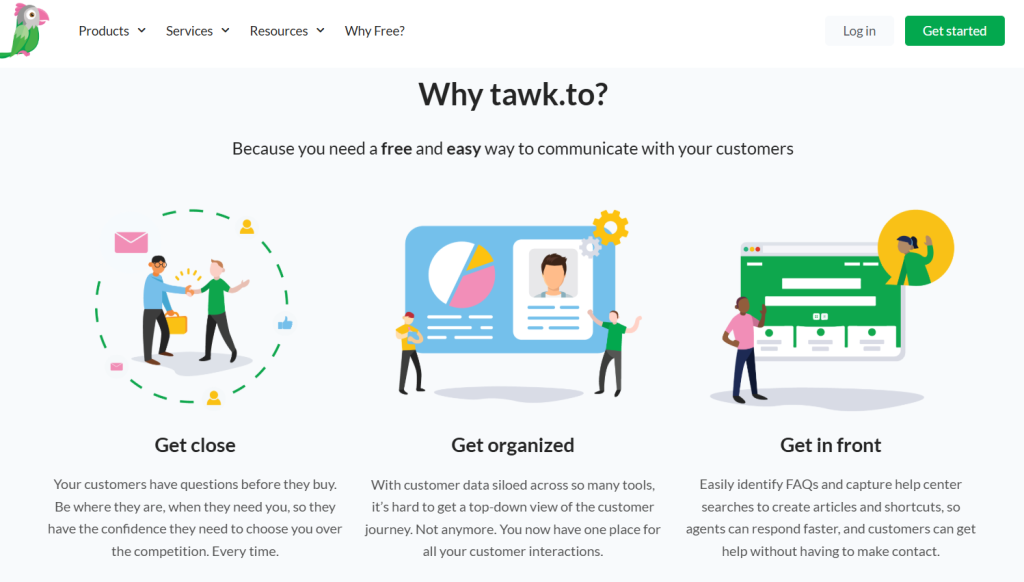
Tawk.to is a completely free live chat and chatbot solution that allows website owners to communicate with visitors in real time. Here’s why it’s a great option:
✅ 100% Free – No hidden costs
✅ Easy to Install – Copy and paste a small script
✅ Customizable Chat Widget – Match your website’s branding
✅ Automated Responses – Save time with predefined answers
✅ Supports Multiple Agents – Manage customer queries efficiently
Now, let’s move on to the step-by-step process of integrating Tawk.to on your website.
Step 1: Sign Up on Tawk.to
To get started, you need to create an account on Tawk.to.
- Visit Tawk.to
- Click on “Sign Up Free”
- Enter your name, email, and password
- Click “Sign Up” and verify your email
Step 2: Add Your Website
Once you’ve logged in:
- Click on “Administration” from the left panel
- Under “Property Settings”, click “Add Property”
- Enter your website name and URL
- Click “Create”
Your website is now registered, and you’ll receive a JavaScript code snippet to add the chat widget to your site.
Step 3: Install Tawk.to Chat Widget on Your Website
Now, you need to add the chat widget code to your website. Follow the method that suits your website:
For HTML Websites
- Copy the JavaScript code provided by Tawk.to
- Open your HTML file (e.g.,
index.html) - Paste the code before the closing
</body>tag - Save the file and refresh your website
For WordPress Websites
- Go to your WordPress dashboard
- Click Plugins > Add New
- Search for “Tawk.to Live Chat”
- Install and activate the plugin
- Go to Settings > Tawk.to and enter your Tawk.to account details
- Select your website and save the settings
Your chatbot will now be visible on your website! 🎉
Step 4: Customize Your Chat Widget
To make the chatbot match your branding, go to:
- Administration > Chat Widget
- Customize the widget color, position, and greeting message
- Set up automated responses (FAQs, welcome messages)
- Enable triggers (e.g., show the chat after 10 seconds)
Step 5: Enable Automated Chatbot Responses
To create a chatbot experience, you can automate responses:
- Go to Messaging > Shortcuts
- Create predefined responses for common questions
- Use triggers to automatically send messages based on user behavior
💡 Example: If a visitor lands on the pricing page, you can trigger a message like:
“Need help choosing a plan? I’m here to assist!”
Step 6: Test and Go Live!
- Open your website
- Test the chatbot by sending a message
- Ensure automated replies and triggers work as expected
- Make any final adjustments
🎉 Congratulations! You have successfully added a free chatbot to your website using Tawk.to.
Final Thoughts
Integrating a free chatbot with Tawk.to is a smart way to enhance customer support and boost engagement. Whether you’re running an eCommerce store, a blog, or a business website, real-time chat can improve conversions and customer satisfaction.
Start using Tawk.to today and give your visitors the best experience possible! 🚀
🔹 Do you need help setting up your chatbot? Drop a comment below! 👇


Sumit Kumar Jha Web Developer
With over 4 years of industry expertise, SD Cares Enterprises is dedicated to delivering top-notch services. We pride ourselves on our commitment to excellence, ensuring that every project is handled with the utmost care and professionalism.
Website: https://sdcaresenterprises.com